We all well know that the Arduino is an open source platform that releases boards that are used to program and control electric devices and sensors, the board consists of a microcontroller that does all the computing tasks and make the board looks like a mini computer but us we all know to experiment with circuit projects relaying only on the boards lets to expenses especially when the boards blow so the renewing cost gets so high every time that’s why in this article am going to discuss and talk about the Arduino Simulators available and the fun part is they are free and easy to learn and work with.
To understand what the Arduino simulator is you got to first ask you self, what is a simulator? Which is some sort of program, or a software designed to imitation in other words to perform a capability of a complex machine or devices, so this means for the Arduino is the software the imitated the entire Arduino capacities and functionalities. In addition, these help a lot with several experimentations and tests before a real-world project or machine can be build.
There are many websites, programs and software out there that can simulate the Arduino functionality but, in this context, I will only introduce you to the two come ones namely.
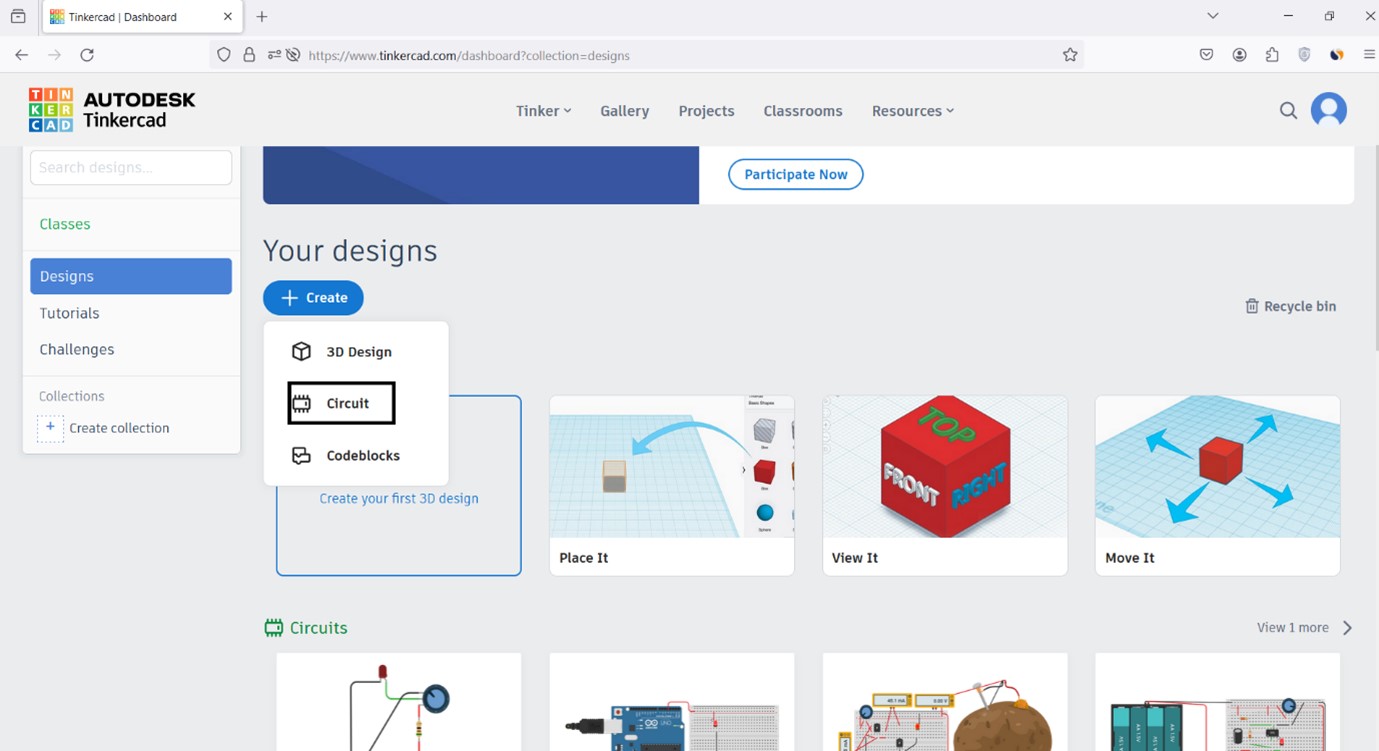
But of the two Tinker cad is the mostly used and reliable Arduino Simulator out there and that’s why am going to discuss it in details, all because it is easy to use because it comes with already built start up projects like the blinking LED, Motor control, providing the already structured Schematic drawings etc. and all the electric components are listed and easily accessed.
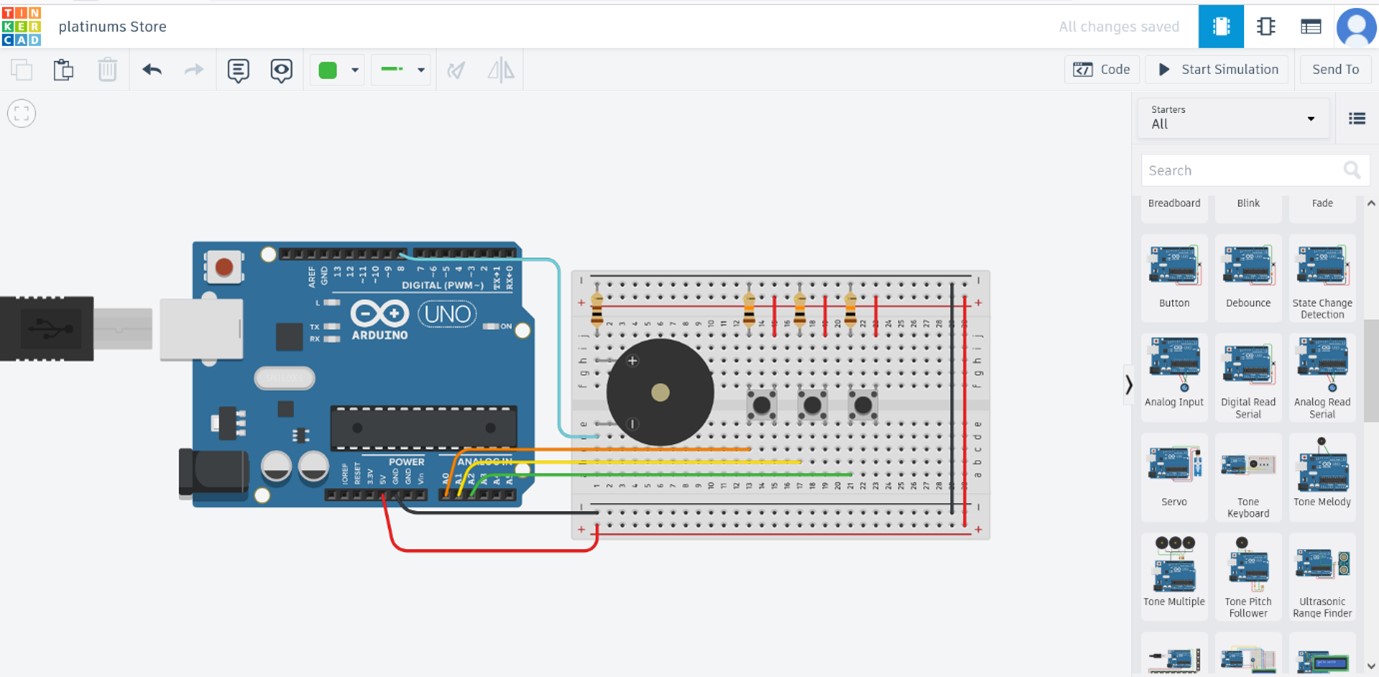
This is the top Bar that consists of the name of the project [Platinums Store], toggle button between the editor panel and the schematic pane, the user avatar, the copy and paste icons , the toggle code icon (this shows and hides the project code on screen) and lastly the start simulation button (S for short cut) which is used to run the and simulate the build project
The panel is the largest space and is where the project is assembled and build from, this is normally done by dragging and dropping component like breadboard, resisters, capacitors, inductors, batteries and many others from the components panel into the editing panel
The panel contains a list of electric components like inductors, LED, capacitors to mention among other these are the components used to build a given project, it also has search bar that is used to locate a single component from the list and some already build samples
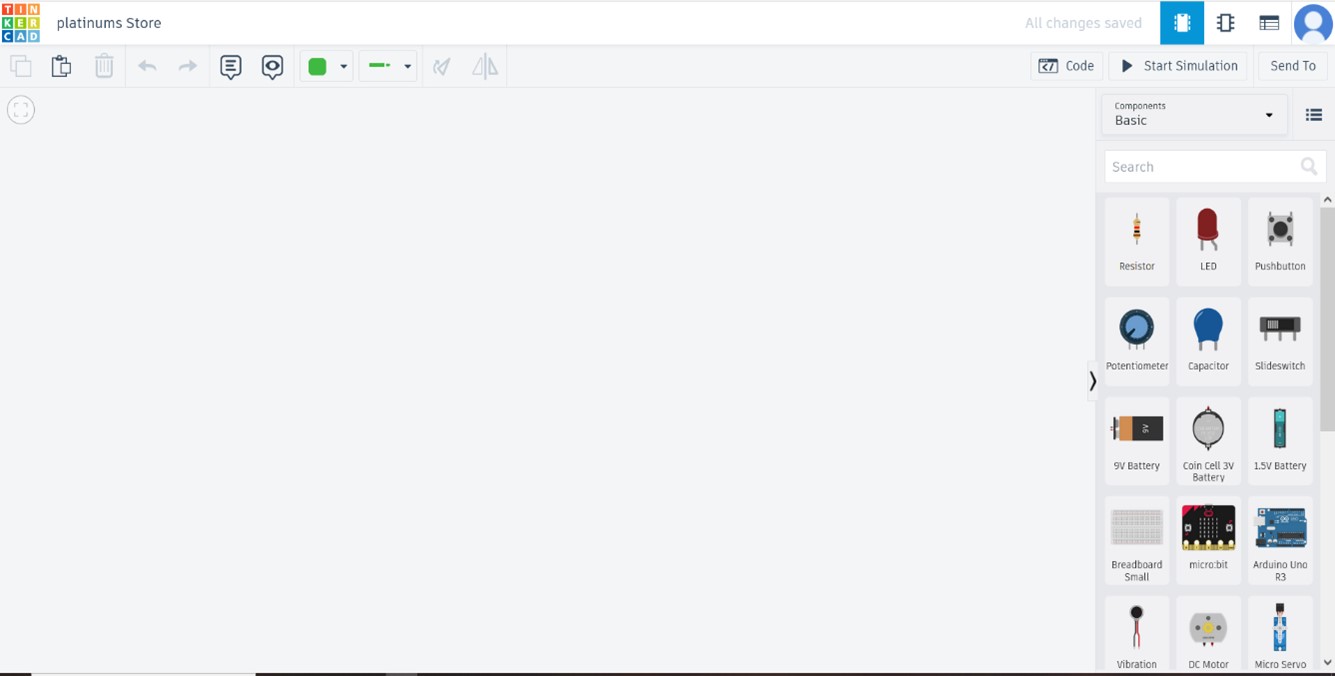
After knowing the layout of the tinker cad simulator here is the how you create a simple Arduino project or another project but like for the startup project sample drag and drop to editing panel then simulate like
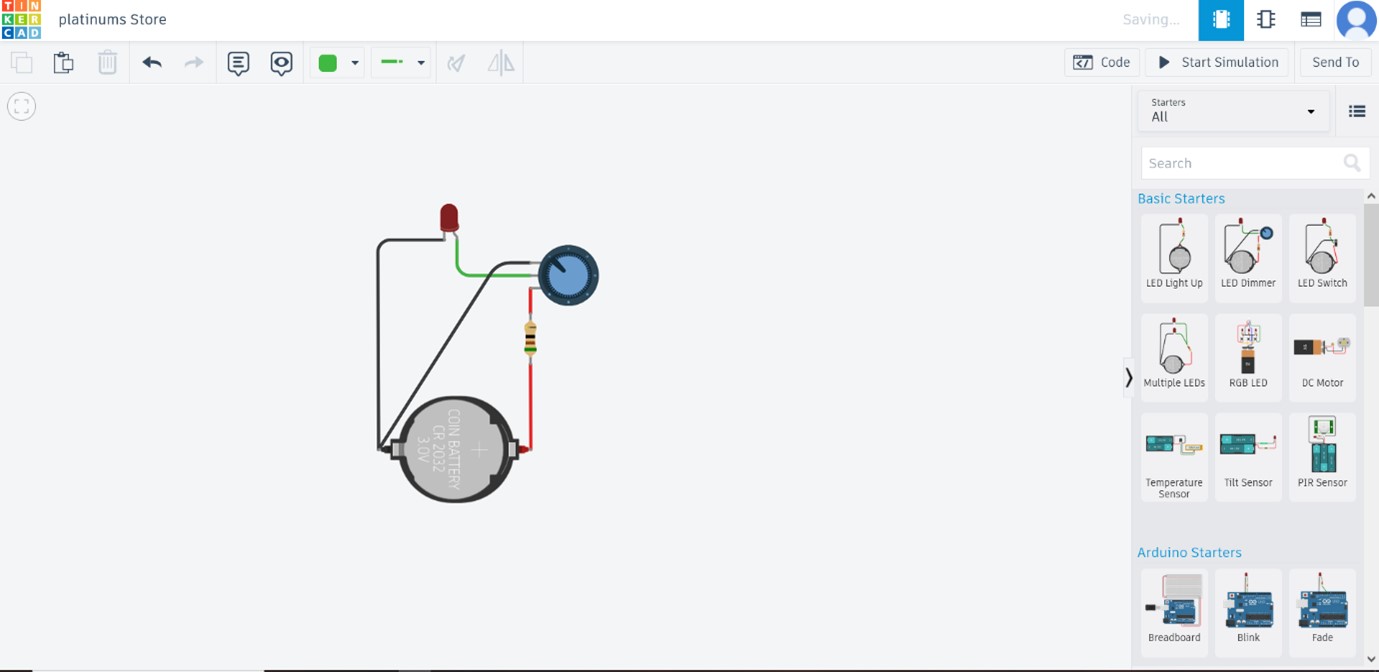
But now if you want to build an Arduino project the can follow the steps below and come up with a simple Arduino simulated project